MCP
Integrate Model Context Protocol (MCP) servers into your React applications
Introduction#
The Model Context Protocol is an open standard that enables developers to build secure, two-way connections between their data sources and AI-powered tools. With MCP, you can:
- Connect AI applications to your data sources
- Enable AI tools to access and utilize your data securely
- Build AI-powered features that have context about your application
For further reading, check out the Model Context Protocol website.
Looking for MCP Apps?
If you want MCP servers to return interactive UI components that render directly in the chat, check out MCP Apps.

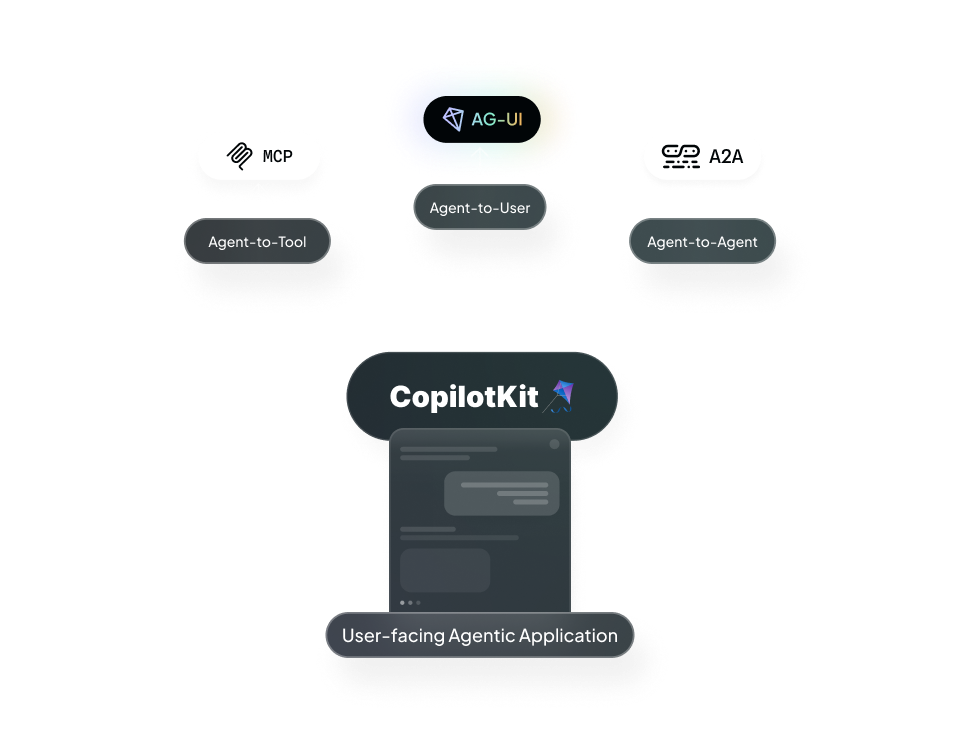
MCP is one of three prominent agentic protocols CopilotKit supports to connect agents to user-facing frontends
Quickstart with CopilotKit#
Get an MCP Server#
First, we need to make sure we have an MCP server to connect to. You can use any MCP SSE endpoint you have configured.
Get an MCP Server from Composio
Composio provides a registry of ready-to-use MCP servers with simple authentication and setup.
To get started, go to Composio, find a server that suits your needs and copy the SSE URL before continuing here.
Advanced Usage#
Implementing the McpToolCall Component#
Click to see the McpToolCall component implementation
"use client";

interface ToolCallProps {
  status: "complete" | "inProgress" | "executing";
  name?: string;
  args?: any;
  result?: any;
}

export default function MCPToolCall({
  status,
  name = "",
  args,
  result,
}: ToolCallProps) {
  const [isOpen, setIsOpen] = React.useState(false);

  // Format content for display
  const format = (content: any): string => {
    if (!content) return "";
    const text =
      typeof content === "object"
        ? JSON.stringify(content, null, 2)
        : String(content);
    return text
      .replace(/\\n/g, "\n")
      .replace(/\\t/g, "\t")
      .replace(/\\"/g, '"')
      .replace(/\\\\/g, "\\");
  };

  return (
    <div className="bg-[#1e2738] rounded-lg overflow-hidden w-full">
      <div
        className="p-3 flex items-center cursor-pointer"
        onClick={() => setIsOpen(!isOpen)}
      >
        <span className="text-white text-sm overflow-hidden text-ellipsis">
          {name || "MCP Tool Call"}
        </span>
        <div className="ml-auto">
          <div
            className={`w-2 h-2 rounded-full ${
              status === "complete"
                ? "bg-gray-300"
                : status === "inProgress" || status === "executing"
                  ? "bg-gray-500 animate-pulse"
                  : "bg-gray-700"
            }`}
          />
        </div>
      </div>

      {isOpen && (
        <div className="px-4 pb-4 text-gray-300 font-mono text-xs">
          {args && (
            <div className="mb-4">
              <div className="text-gray-400 mb-2">Parameters:</div>
              <pre className="whitespace-pre-wrap max-h-[200px] overflow-auto">
                {format(args)}
              </pre>
            </div>
          )}

          {status === "complete" && result && (
            <div>
              <div className="text-gray-400 mb-2">Result:</div>
              <pre className="whitespace-pre-wrap max-h-[200px] overflow-auto">
                {format(result)}
              </pre>
            </div>
          )}
        </div>
      )}
    </div>
  );
}
Self-Hosting Option#
Click here to learn how to use MCP with self-hosted runtime
Self-Hosting vs Copilot Cloud
The Copilot Runtime handles communication with LLMs, message history, and state. You can self-host it or use CopilotKit Cloud (recommended). Learn more in our Self-Hosting Guide.
To configure your self-hosted runtime with MCP servers, you'll need to implement the createMCPClient function that matches this interface:
type CreateMCPClientFunction = (
  config: MCPEndpointConfig,
) => Promise<MCPClient>;
For detailed implementation guidance, refer to the official MCP SDK documentation.
Here's a basic example of configuring the runtime:
import {
  CopilotRuntime,
  OpenAIAdapter,
  copilotRuntimeNextJSAppRouterEndpoint,
} from "@copilotkit/runtime";
import { NextRequest } from "next/server";

const serviceAdapter = new OpenAIAdapter();

const runtime = new CopilotRuntime({
  createMCPClient: async (config) => {
    // Implement your MCP client creation logic here
    // See the MCP SDK docs for implementation details
  },
});

export const POST = async (req: NextRequest) => {
  const { handleRequest } = copilotRuntimeNextJSAppRouterEndpoint({
    runtime,
    serviceAdapter,
    endpoint: "/api/copilotkit",
  });

  return handleRequest(req);
};